 Save to Pinterest
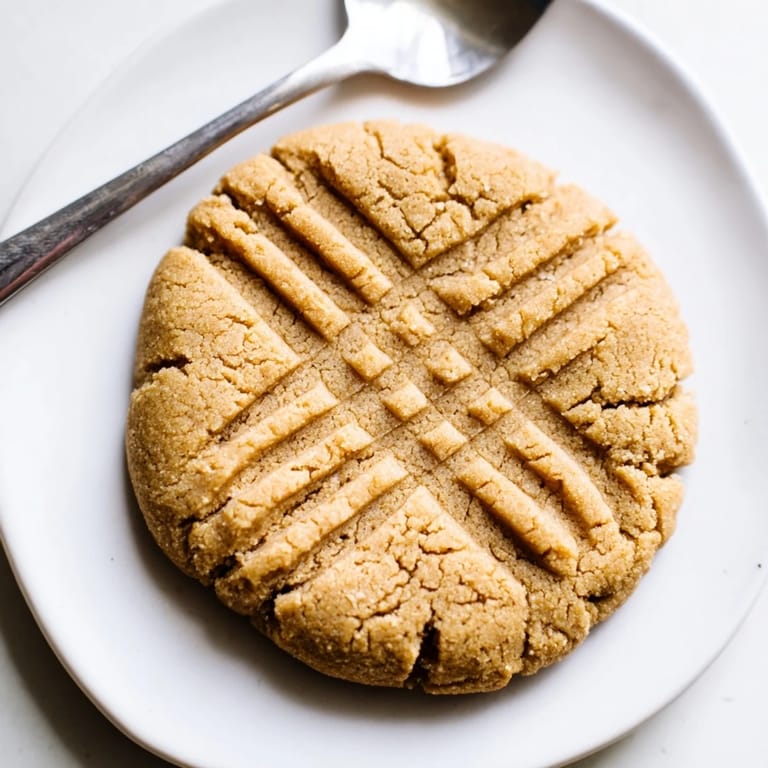
 I mixed up my first batch of these on a Tuesday night when the pantry was nearly bare. No flour, no butter, just peanut butter, sugar, and an egg sitting in the fridge. What came out of the oven shocked me: chewy, rich, and somehow better than the complicated recipes I'd tried before. My neighbor knocked on the door an hour later and left with half the batch.
I brought these to a potluck once without mentioning they were gluten-free. Two people asked for the recipe before I even sat down. One friend, who usually skips dessert, ate three and texted me the next morning asking if I had any left. That's when I knew this wasn't just a shortcut recipe, it was a keeper.
Ingredients
- Creamy peanut butter: The backbone of the cookie. I use unsweetened or lightly sweetened natural peanut butter, the kind you have to stir. It gives a deeper, less sugary flavor that balances the sweetness. Avoid the ultra-processed stuff if you can, it changes the texture.
- Granulated sugar: This is what gives the cookies their crackled tops and crisp edges. I've swapped in brown sugar before and it works beautifully, adding a molasses warmth that feels almost like caramel.
- Large egg: The glue that holds everything together. Make sure it's at room temperature so it blends smoothly into the peanut butter without clumping.
Tired of Takeout? 🥡
Get 10 meals you can make faster than delivery arrives. Seriously.
One email. No spam. Unsubscribe anytime.
Instructions
- Preheat and Prep:
- Set your oven to 350°F and line a baking sheet with parchment paper. Don't skip the parchment, these cookies can stick if you're not careful.
- Mix the Dough:
- Combine the peanut butter, sugar, and egg in a bowl. Stir with a spoon or spatula until it's completely smooth and glossy. It should look like thick frosting.
- Shape the Cookies:
- Scoop tablespoon-sized portions and roll them into balls with your hands. Space them about two inches apart on the baking sheet, they spread just a little.
- Make the Crisscross:
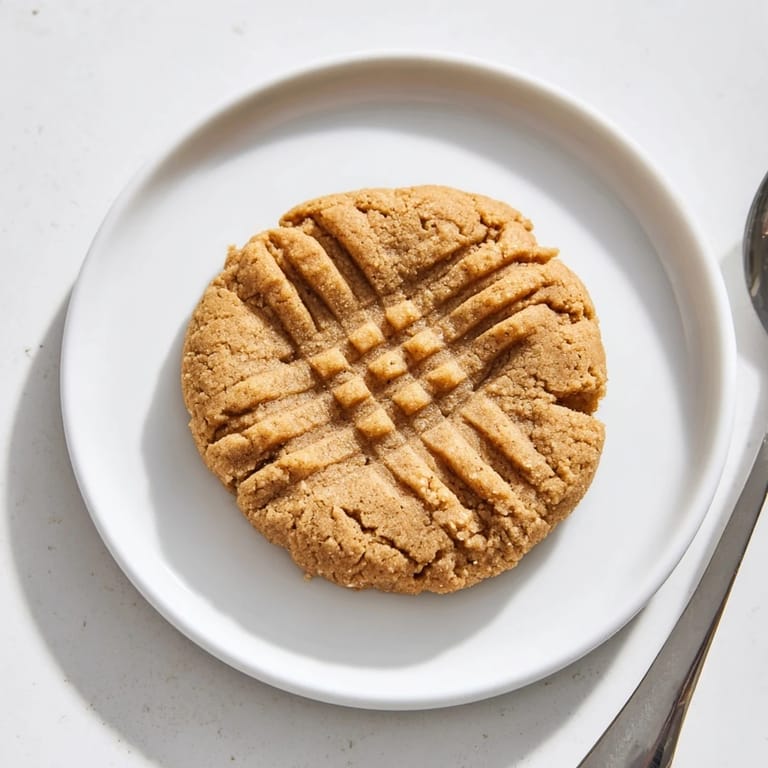
- Press each ball gently with a fork to flatten it, then turn the fork ninety degrees and press again. This classic pattern isn't just cute, it helps them bake evenly.
- Bake:
- Slide the tray into the oven and bake for nine to eleven minutes. The edges should look set and the tops will start to crack, but the centers will still seem soft.
- Cool:
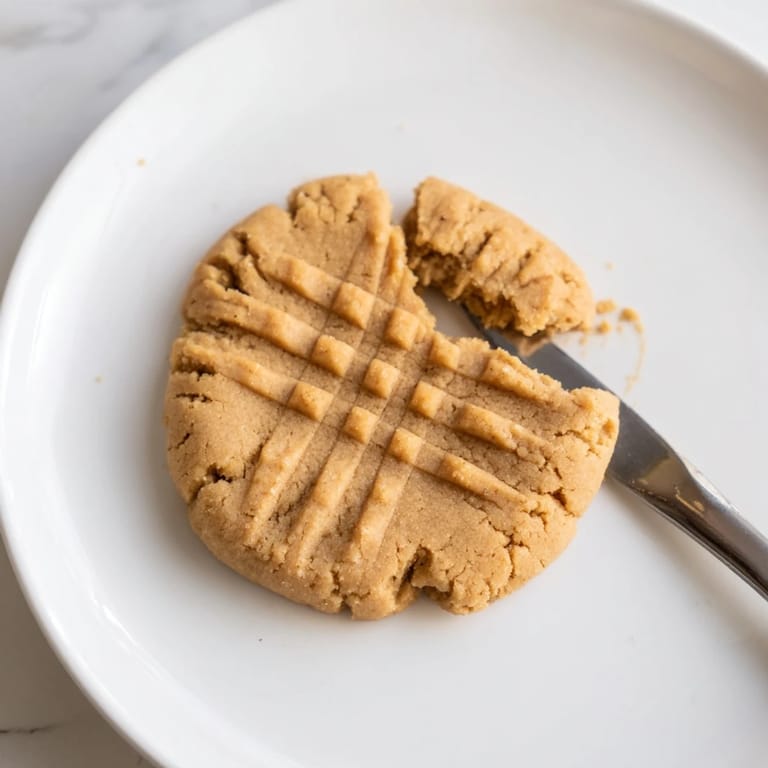
- Let the cookies rest on the baking sheet for five minutes before moving them to a wire rack. They firm up as they cool, trust the process.
 Save to Pinterest
 One afternoon my nephew asked if we could make cookies, and I realized I hadn't gone grocery shopping in days. I pulled out this recipe and he couldn't believe we didn't need flour or a mixer. We stood at the counter, rolling dough balls and pressing fork patterns, and he ate two warm cookies before they even finished cooling. He still asks for the no-flour cookies every time he visits.
Flavor Variations I've Tried
Once I pressed a chocolate chip into the top of each cookie before baking and it melted into a little puddle of heaven. Another time I added a pinch of flaky sea salt on top right when they came out of the oven, and the sweet-salty contrast was unreal. A friend of mine swirls in a teaspoon of vanilla extract and swears it makes them taste bakery-level.
Storage and Texture Tips
I keep these in an airtight container at room temperature and they stay soft for about four days. After that they start to dry out a bit, but they're still good dipped in coffee. If you want them to last longer, freeze them in a zip-top bag and thaw one at a time. They come back to life after fifteen seconds in the microwave.
What to Serve Them With
I love these with a cold glass of milk or a mug of black coffee in the afternoon. They're rich enough to feel indulgent but not so sweet that you can't eat two. Sometimes I crumble one over vanilla ice cream, and it's like a deconstructed peanut butter sundae.
- Pair with a scoop of vanilla or chocolate ice cream for a simple dessert.
- Pack them in lunchboxes, they travel well and don't crumble easily.
- Serve them warm with a drizzle of honey if you want to get fancy.
 Save to Pinterest
 These cookies remind me that the best recipes aren't always the most complicated. Sometimes all you need is three ingredients and ten minutes to make something that feels like home.
Ask About This Recipe
- → Can I use natural peanut butter for these treats?
Yes, natural peanut butter works well but may affect texture; stirring the oil back in before mixing helps maintain consistency.
- → How do I know when they're done baking?
Look for set edges and cracks forming on the tops; baking for 9–11 minutes usually achieves the perfect softness.
- → Can I substitute sugar with a healthier option?
Brown sugar can replace granulated for deeper flavor, but other sweeteners might impact texture and sweetness balance.
- → How should I store these peanut butter confections?
Store in an airtight container at room temperature for up to a week to maintain softness and freshness.
- → Is it possible to add flavor variations?
Absolutely! Adding vanilla extract, sea salt, or pressing chocolate chips before baking enhances taste layers beautifully.